
Chairs endure dynamic loads that few other pieces of domestic furniture ever face. Every shift in weight, rearward lean, or uneven floor transfers mechanical stress directly into the joints where the rungs enter the chair legs. Over decades of seasonal humidity shifts, the wood fibers shrink and swell at different rates along the radial and tangential grain lines. Eventually, the factory glue bond shatters, leaving you with a seat that wobbles and creaks under guests. Most chairs pick the quietest moment in a dinner party to announce that their structural integrity has expired.
Repairing these joints is one of the most satisfying salvage projects you can undertake in a home workshop, provided you do not reach for temporary fixes like metal angle brackets or expanding foam glues. A lasting repair requires returning the joint to bare wood, correcting any shrinkage in the tenon, and re-gluing the assembly under balanced mechanical pressure. With a few hand tools, some hardwood shims, aliphatic resin glue, and a pair of standard ratchet straps, you can restore a loose frame to solid, daily service.
Diagnosing joint movement and disassembling loose rungs
Before pulling a chair apart, you must identify whether the failure is isolated to a single rung or spreads throughout the undercarriage. Place the chair upside down on a clean workbench lined with cardboard or a moving blanket. Grip each leg near the foot and apply gentle outwards and twisting pressure. Watch the joints closely where the stretchers and rungs penetrate the legs. If one rung moves freely inside its mortise, its neighbors are frequently holding on by a thread, stressed by the extra load they have been carrying. Mark every loose joint with blue painter tape.
Document the orientation of every piece before striking a single blow. Round rungs often look symmetrical at a glance, but makers typically turn them with subtle tapers, or years of sitting have shaped the wood to fit a specific socket. Use a pencil to number the rungs and mark their top-facing edges. A small piece of tape on the rung corresponding to a matching piece on the adjacent leg ensures you will not spend an afternoon trying to force a front stretcher into a rear mortise.
Disassembly requires measured blunt force rather than sudden violent impacts. Never strike the finished chair wood directly with a steel hammer, as this will crush the wood fibers beyond repair. Instead, use a dead-blow mallet with a polyurethane head, which transfers momentum without rebounding. If you only have a traditional steel hammer, place a thick block of scrap softwood, such as pine or spruce, directly against the joint shoulder to absorb the blow.
Tap outward against the leg right next to the rung joint, alternating sides after every few strikes to walk the joint out evenly. If a joint resists, stop immediately. Check for hidden fasteners such as headless finish nails, rusted brads, or cross-dowels that a previous owner may have driven through the leg. Forcing a pinned joint will split the socket walls, turning a simple re-glue into a complex grain repair. If stubborn glue holds the joint, apply gentle heat using a household hairdryer directed into the seam for several minutes to soften aged adhesives.
Scraping away crystallized hide and PVA glues
Fresh glue cannot form a proper chemical bond with old, crystallized adhesive. Aliphatic resin wood glue needs to penetrate open cellulose pores in the wood to create its mechanical grip. If a film of old animal protein or yellow glue covers the tenon or lines the socket walls, your new glue will simply adhere to the old, failed layer and pull loose within months.
Examine the residue inside the joint to determine what you are removing. Antique chairs built before the mid-twentieth century typically contain hide glue, which looks like dark amber, glass-like crystals. Post-war chairs and modern imports usually feature polyvinyl acetate (PVA) or aliphatic resins, which dry to an opaque, slightly rubbery, or pale yellow plastic skin.
| Glue Type | Visual Characteristics | Removal Method |
|---|---|---|
| Animal Hide Glue | Dark amber, brittle, glossy, fractures like glass | Warm water or denatured alcohol compress, followed by light scraping |
| White PVA Glue | Translucent white or dull gray, slightly flexible | Mechanical scraping with a card scraper or shaped cabinet gouge |
| Aliphatic Resin (Yellow) | Opaque light yellow, tough, resistant to moisture | Chisel edge scraping and 80-grit abrasive paper wrapped on dowels |
| Polyurethane (Expanding) | Foamy, dull beige or brown, fills empty voids | Rotary burrs, sharp carving gouges, complete mechanical clearance |
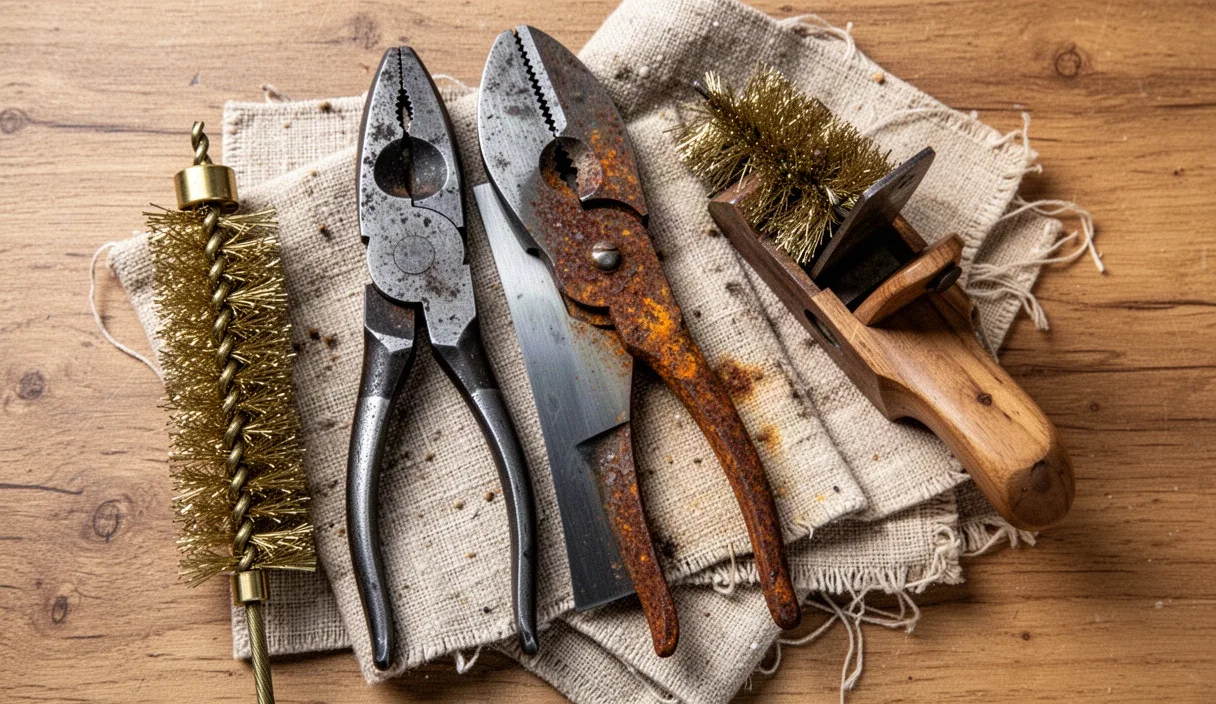
To clean hide glue, pack the mortise cavity with a rag soaked in hot water or denatured alcohol for ten minutes. The dried protein will soften into a gel that you can scrape out with a narrow chisel or a dull screwdriver blade. PVA and modern resins will not dissolve easily, so you must clear them mechanically. Use a cabinet scraper, a curved utility knife blade, or a small hand gouge to scrape the tenon down to bare timber. Take care to remove only the glue skin without removing underlying wood, which would make the tenon even looser.
Clean the interior of the round mortise with a cylindrical wire brush or a piece of 80-grit sandpaper wrapped tightly around a wooden dowel slightly smaller than the hole diameter. Turn the dowel by hand inside the socket until the hard glue crust is pulverized and raw wood fiber is visible. Vacuum out all dust thoroughly. Wipe the tenon and mortise with a clean, dry cloth to ensure no loose particles remain to contaminate the new glue line.
Expanding undersized tenons with wedges and shims
Wood shrinks significantly more across its annual rings than it does along its length. Over decades in dry, heated homes, the round tenon on the end of a chair rung often shrinks into an oval shape, losing contact with the circular walls of the mortise. If you can slide the cleaned tenon into the socket and feel lateral play, fresh glue alone will not bridge the gap. Standard wood glues have poor gap-filling strength; they shrink as their water base evaporates, leaving porous bubbles that collapse under stress.
The most permanent method to restore diameter to a shrunken tenon is cutting a kerf and inserting a small wedge, a technique borrowed from traditional Windsor chairmaking. Secure the chair rung in a bench vise padded with leather or heavy cloth. Using a fine-toothed Japanese pull saw or a razor-sharp gent saw, cut a straight vertical slot across the end of the tenon. Stop the cut roughly 3 millimeters short of the rung shoulder. Ensure this cut runs perpendicular to the grain of the chair leg when assembled, which prevents the wedge from splitting the leg socket under pressure.
Fashion a slim wedge from a dense hardwood scrap, such as maple, oak, or walnut. The wedge should match the width of the tenon, taper to a knife edge at its tip, and increase to a thickness of roughly 1.5 to 2 millimeters at its base. Dry-fit the wedge into the cut slot to confirm it spreads the tenon ears outward evenly. When you press the tenon into the mortise during final assembly, the bottom of the mortise drives the wedge deep into the cut, expanding the tenon tightly against the circular hole walls.
For joints with minor, uniform shrinkage where cutting a kerf risks splitting a thin rung, shaved hardwood veneer shims offer an effective alternative. Cut strips of birch or maple veneer matching the length of the tenon. Avoid softwood shims, which crush easily under dynamic loads. Test various veneer thicknesses around the tenon until the dry assembly requires firm hand pressure to seat fully. Trim the shims so they sit flush with the tenon shoulder without protruding onto the finished, visible parts of the chair.
Applying fresh aliphatic resin glue evenly
Aliphatic resin wood glue, commonly sold as standard yellow carpenter glue, is the benchmark adhesive for indoor furniture repairs. It offers high tensile strength, creeps very little under continuous load, and allows roughly ten to fifteen minutes of open assembly time at standard room temperatures. Do not attempt structural chair repairs in a cold shop; keep your workspace at or above 18 degrees Celsius so the glue can cure properly without chalking.
Avoid the temptation to use expanding polyurethane glues or five-minute epoxies for standard mortise and tenon joinery. Polyurethane glue expands by foaming, but that foam possesses almost no structural strength in gaps larger than a hairline. Epoxy creates a strong structural bond, but it is messy, stains surrounding finishes, and makes future repairs almost impossible without destroying the timber.
Apply glue with purpose to both mating surfaces rather than dumping a pool into the bottom of the hole. Use a small, stiff-bristled glue brush to coat the internal walls of the mortise with an even film. Coat the entire exterior surface of the tenon, paying special attention to the sides that will bear dynamic loads. If you are using a wedge, brush glue lightly inside the saw kerf and over both faces of the wedge before starting it into the slot.
Do not fill the bottom of the mortise cavity with liquid glue. When you seat the tenon, excess glue trapped at the base has nowhere to escape. Because liquids do not compress, the trapped hydraulic pressure can prevent the tenon from seating fully, or worse, split the chair leg from the inside out. Coat the walls generously, leave the absolute floor of the hole dry, and let the insertion of the tenon sweep the glue down naturally.
Using ratchet tie-downs for balanced clamping pressure
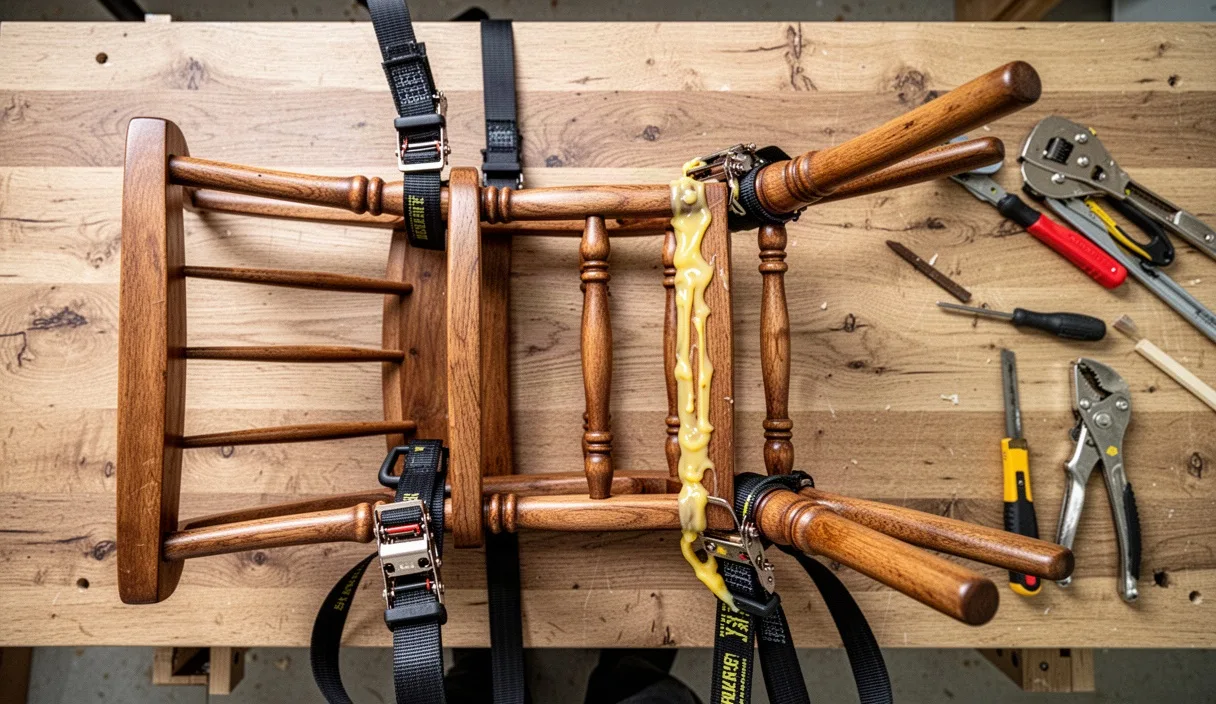
Standard parallel jaw clamps and pipe clamps excel at flat tabletop lamination, but they are unwieldy and problematic on chairs. Chair legs splay outward at compound angles, meaning flat clamp faces will slip, cock sideways, or dent round turnings. Cargo ratchet straps, commonly sold for securing gear on roof racks, solve this problem by applying continuous, balanced inward pressure across multiple points at once.
Prepare the chair legs to protect the original finish before routing the straps. Fold scraps of thick cardboard or cut small pads from dense felt and position them over the outer corners where the straps will make contact. If your chair has delicate turned details, cut softwood cauls with a V-notch to distribute the strap force across flat areas rather than concentrating pressure on fine ornamental beads.
Follow these actions to pull the entire lower frame together squarely:
- Reassemble all rungs into their respective mortises by hand, making sure every registration mark aligns correctly with its partner leg.
- Wrap a 25-millimeter-wide ratchet strap horizontally around all four legs, placing the strap band at the exact vertical height of the loose rungs.
- If the chair features an upper and lower set of stretchers, set up a second ratchet strap at the level of the second tier to prevent the legs from bowing inward.
- Crank the ratchet handle slowly, taking up the slack until the strap is snug around the perimeter. Verify that the tenons are entering their mortises cleanly.
- Check the assembly for squareness by measuring diagonally between opposing leg tips with a steel tape measure. Adjust strap tension until both diagonal measurements match within 2 millimeters.
- Apply final tension with the ratchet mechanism. You only need moderate tension: roughly two to three clicks past snug. Excess force will bend the chair legs inward like a bow, which starves the joint of glue and stresses the wood.
As the clamps pull the shoulders tight, squeeze-out will appear around the joint perimeter. Resist the urge to wipe wet glue with a dripping sponge, which dilutes the glue and drives it deep into raw wood pores, creating blemishes that reject future stain or wax. Wait roughly twenty to thirty minutes until the glue turns rubbery and loses its liquid gloss. Then, pry the rubbery bead away cleanly using a sharp wooden stick or a brass scraper, leaving the adjacent finish unharmed.
Common mistakes to avoid
One frequent error is failing to dry-fit the entire assembly before opening the glue bottle. Once glue touches bare wood, the clock starts ticking. If a shim bunches up inside a mortise or a rung sits backward, you have only minutes to correct it before the glue tacks up, potentially locking the chair in an out-of-square alignment. Always perform a complete, dry run under full strap pressure to confirm every joint closes seamlessly.
Another damaging shortcut is driving drywall screws through the back of the legs into the rung tenons. Screws provide an illusion of strength for a few weeks, but wood movement quickly loosens the threads in the rung end-grain. More critically, the screw acts as a wedge that splits the leg along its natural grain lines when someone tilts back in the chair. Removing broken steel screws from deep inside antique chair legs is a miserable task that frequently requires core-drilling and plug repairs.
Practical next steps
Leave the ratchet straps clamped under moderate tension for at least twenty-four continuous hours. While aliphatic resin reaches initial handling strength within two to three hours, the trapped wood within deep sockets support much slower due to restricted airflow. Moving or testing the chair prematurely can break the tender glue crystalline matrix before it reaches maximum tensile resistance.
Once you release the straps, set the chair upright on a completely flat surface, such as a cast-iron tool bed or a level workbench. Step back and check that all four feet rest firmly on the surface without rocking. If a tiny discrepancy exists, a light pass with a coarse sandpaper block on the underside of the offending foot will true the stance. Recondition the dry finish around the repaired joints using a quality paste wax or boiled linseed oil blend, buffing it to match the existing patina, and return the chair to your dining table for decades of further use.